Welcome to Our Garage
Daytona Coupe, 289 and 427 Cobras
-34-
Daytona Coupe Cobra -
Footbox Insulation
The interior of the Daytona is hot!
The orginal Daytonas had three cowel mounted air scoops to provide some fresh air into the car and an outlet cut into the rear of the tail spoiler to allow some air flow through the car. However, I suspect that it didn't take long for the Shelby crew to recognize something additional was required to keep the driver's a little cooler during some of the long hot days of racing.
Unlike the fiberglass foot boxes on the Cobra roadsters, the foot boxes on the Daytona are fabricated from .060" thick aluminum. And as you probably can imagine, aluminum is a great conductor of heat from the engine bay into the cars interior compartment. The roof of the Daytona, which so greatly increased the cars top speed, simply did not allow the heat to escape once the car's interior heated up.
Something additional to minimize the interior heating was required. All of the original Daytonas therefore added insulation to the aluminum foot boxes as another of method to keep the interior cooler. Photos of the cars reveals the addition of a layer of material on the footbox aluminum. Sometimes it was added to the engine compartment side of the box and sometimes it was added to the interior.
With the majority of the major fabrication of my Daytona completed it was time to turn to finalizing some of the less obvious aspects of the car. The foot box insulation fell into this category.
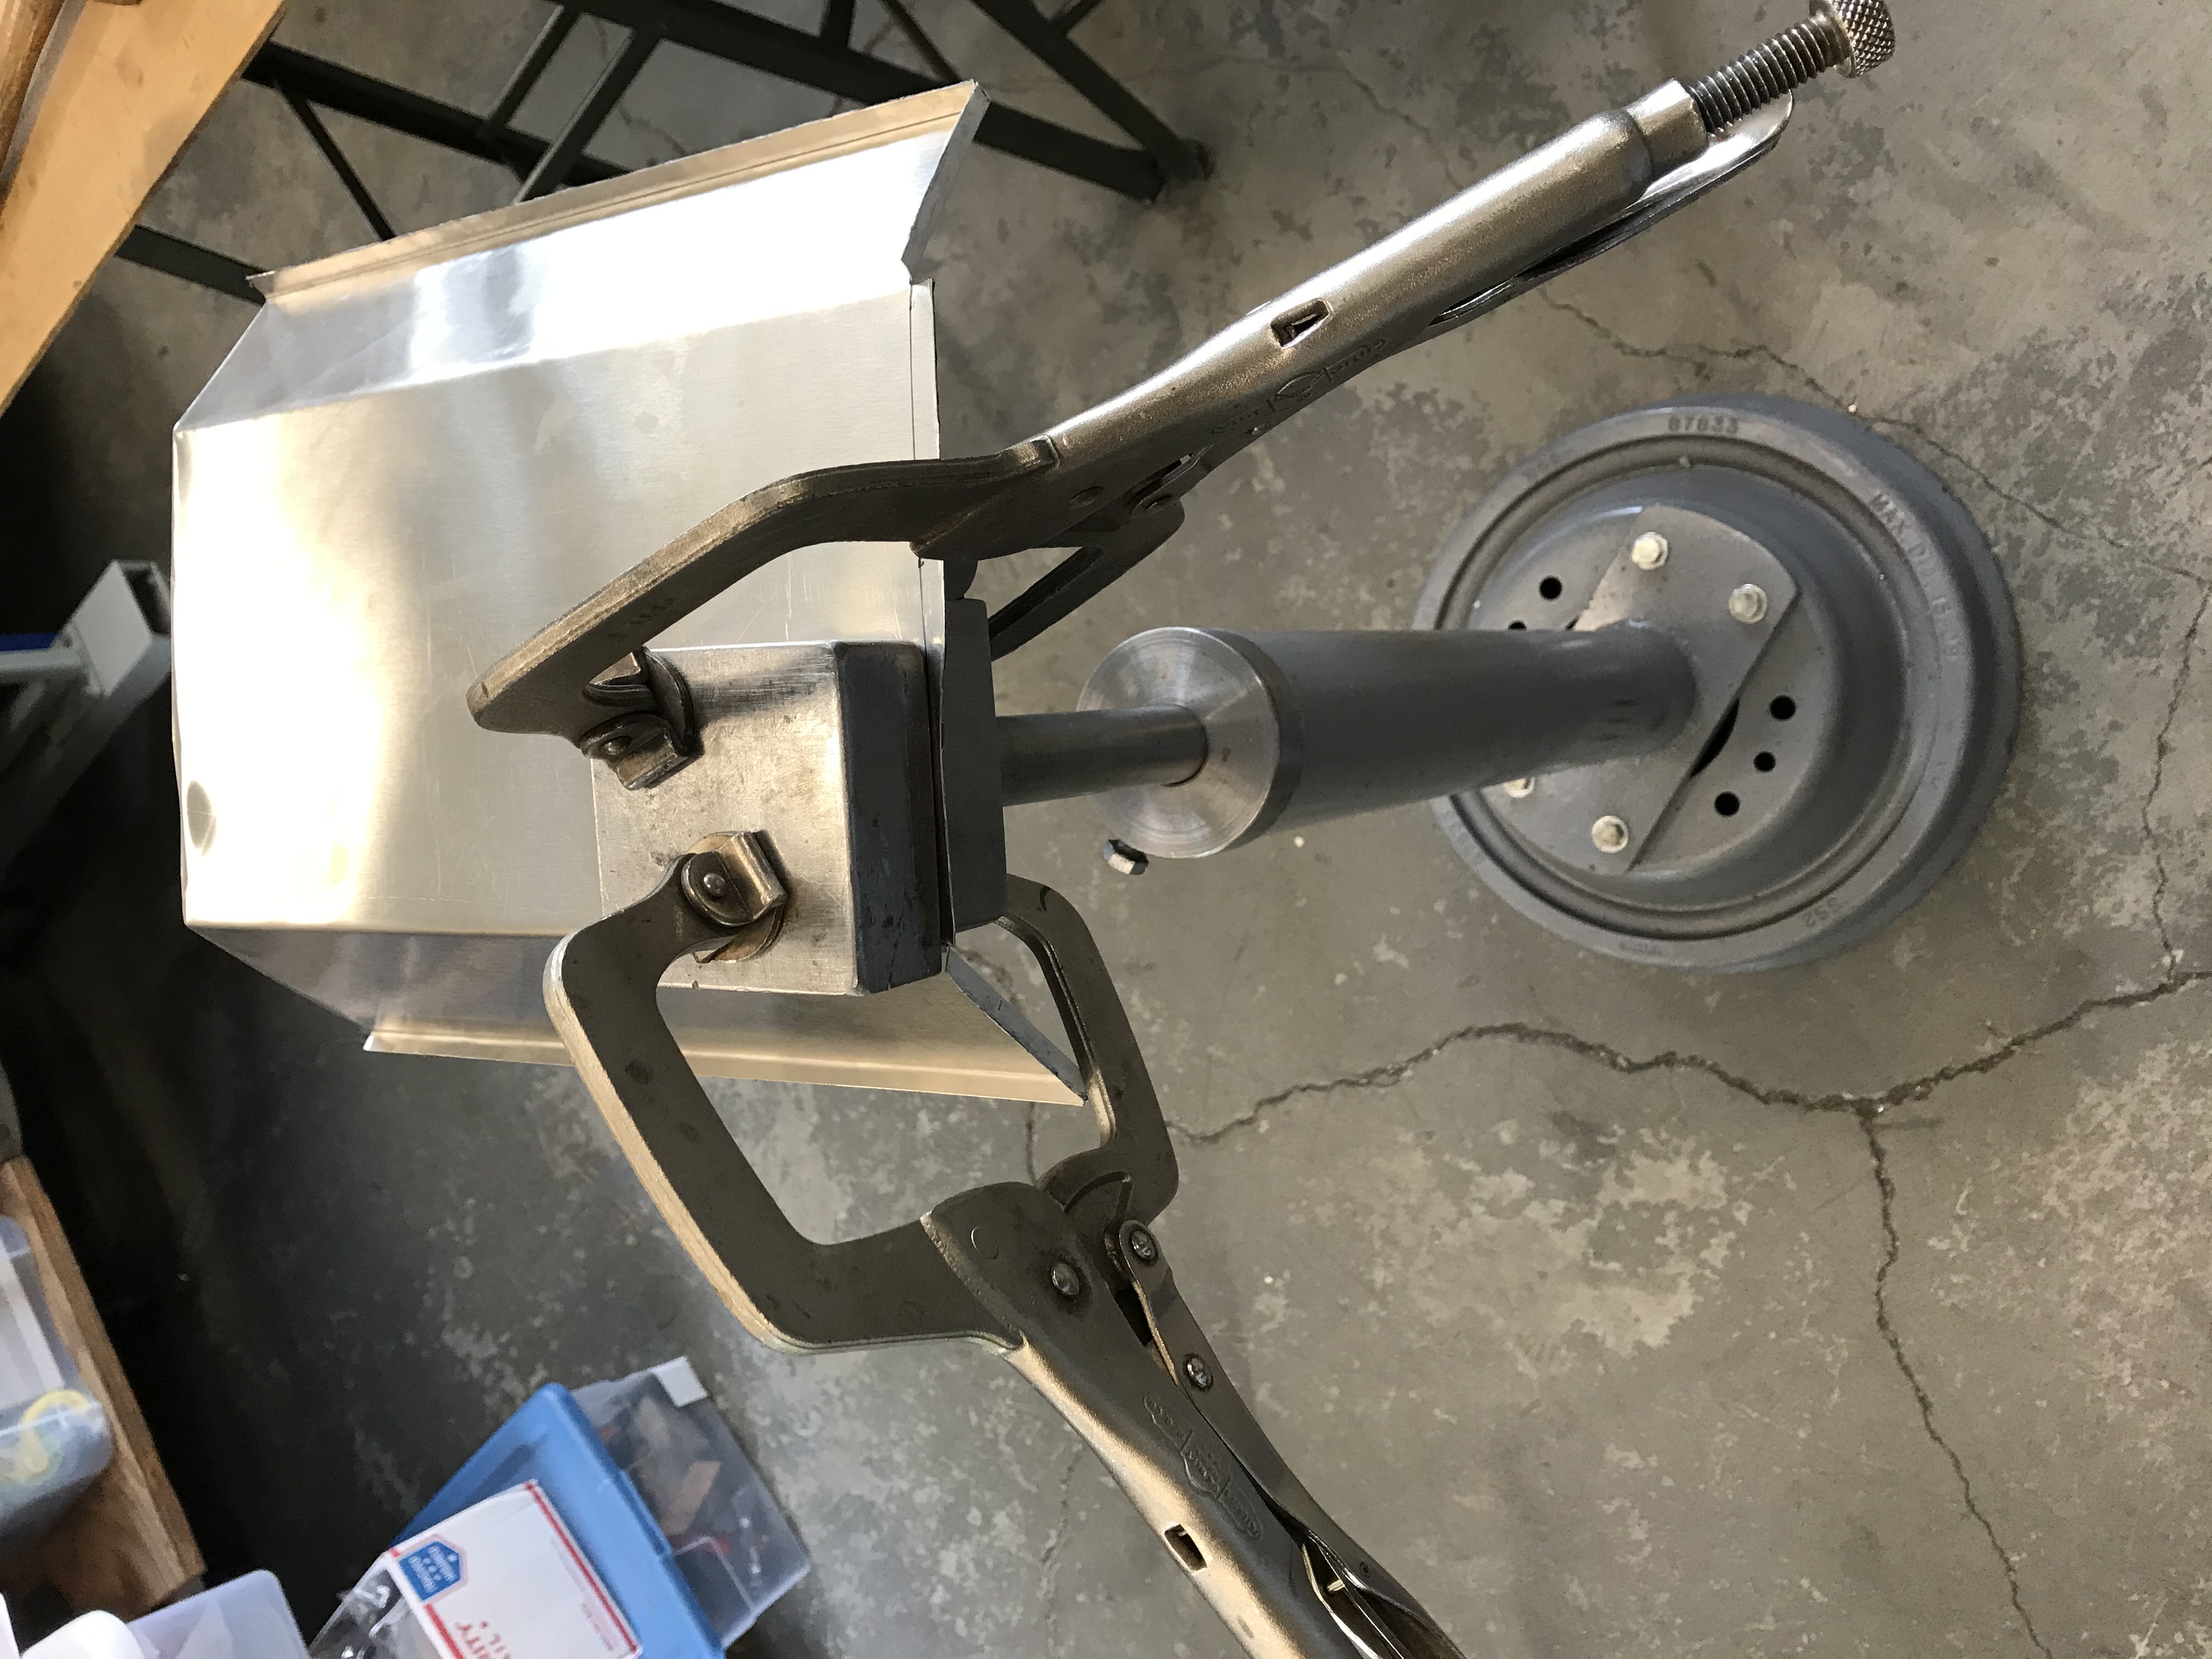
I used a combination of stainless steel and modern insulation material to add some degree of "creature comfort" to the car. The following photo shows initial forming of one of the stainless steel shields used to both protect the insulation and to aid in reducing the heat transfer into the car (stainless has a relatively low coffecient of heat transfer.) This particular panel will be added to the lower front side of the footbox where it transissions into the muffler cutout area.
This was the first time that I had worked with stainless and I recall thinking something to the effect of "boy even .030" stainless is hard to form by hand".
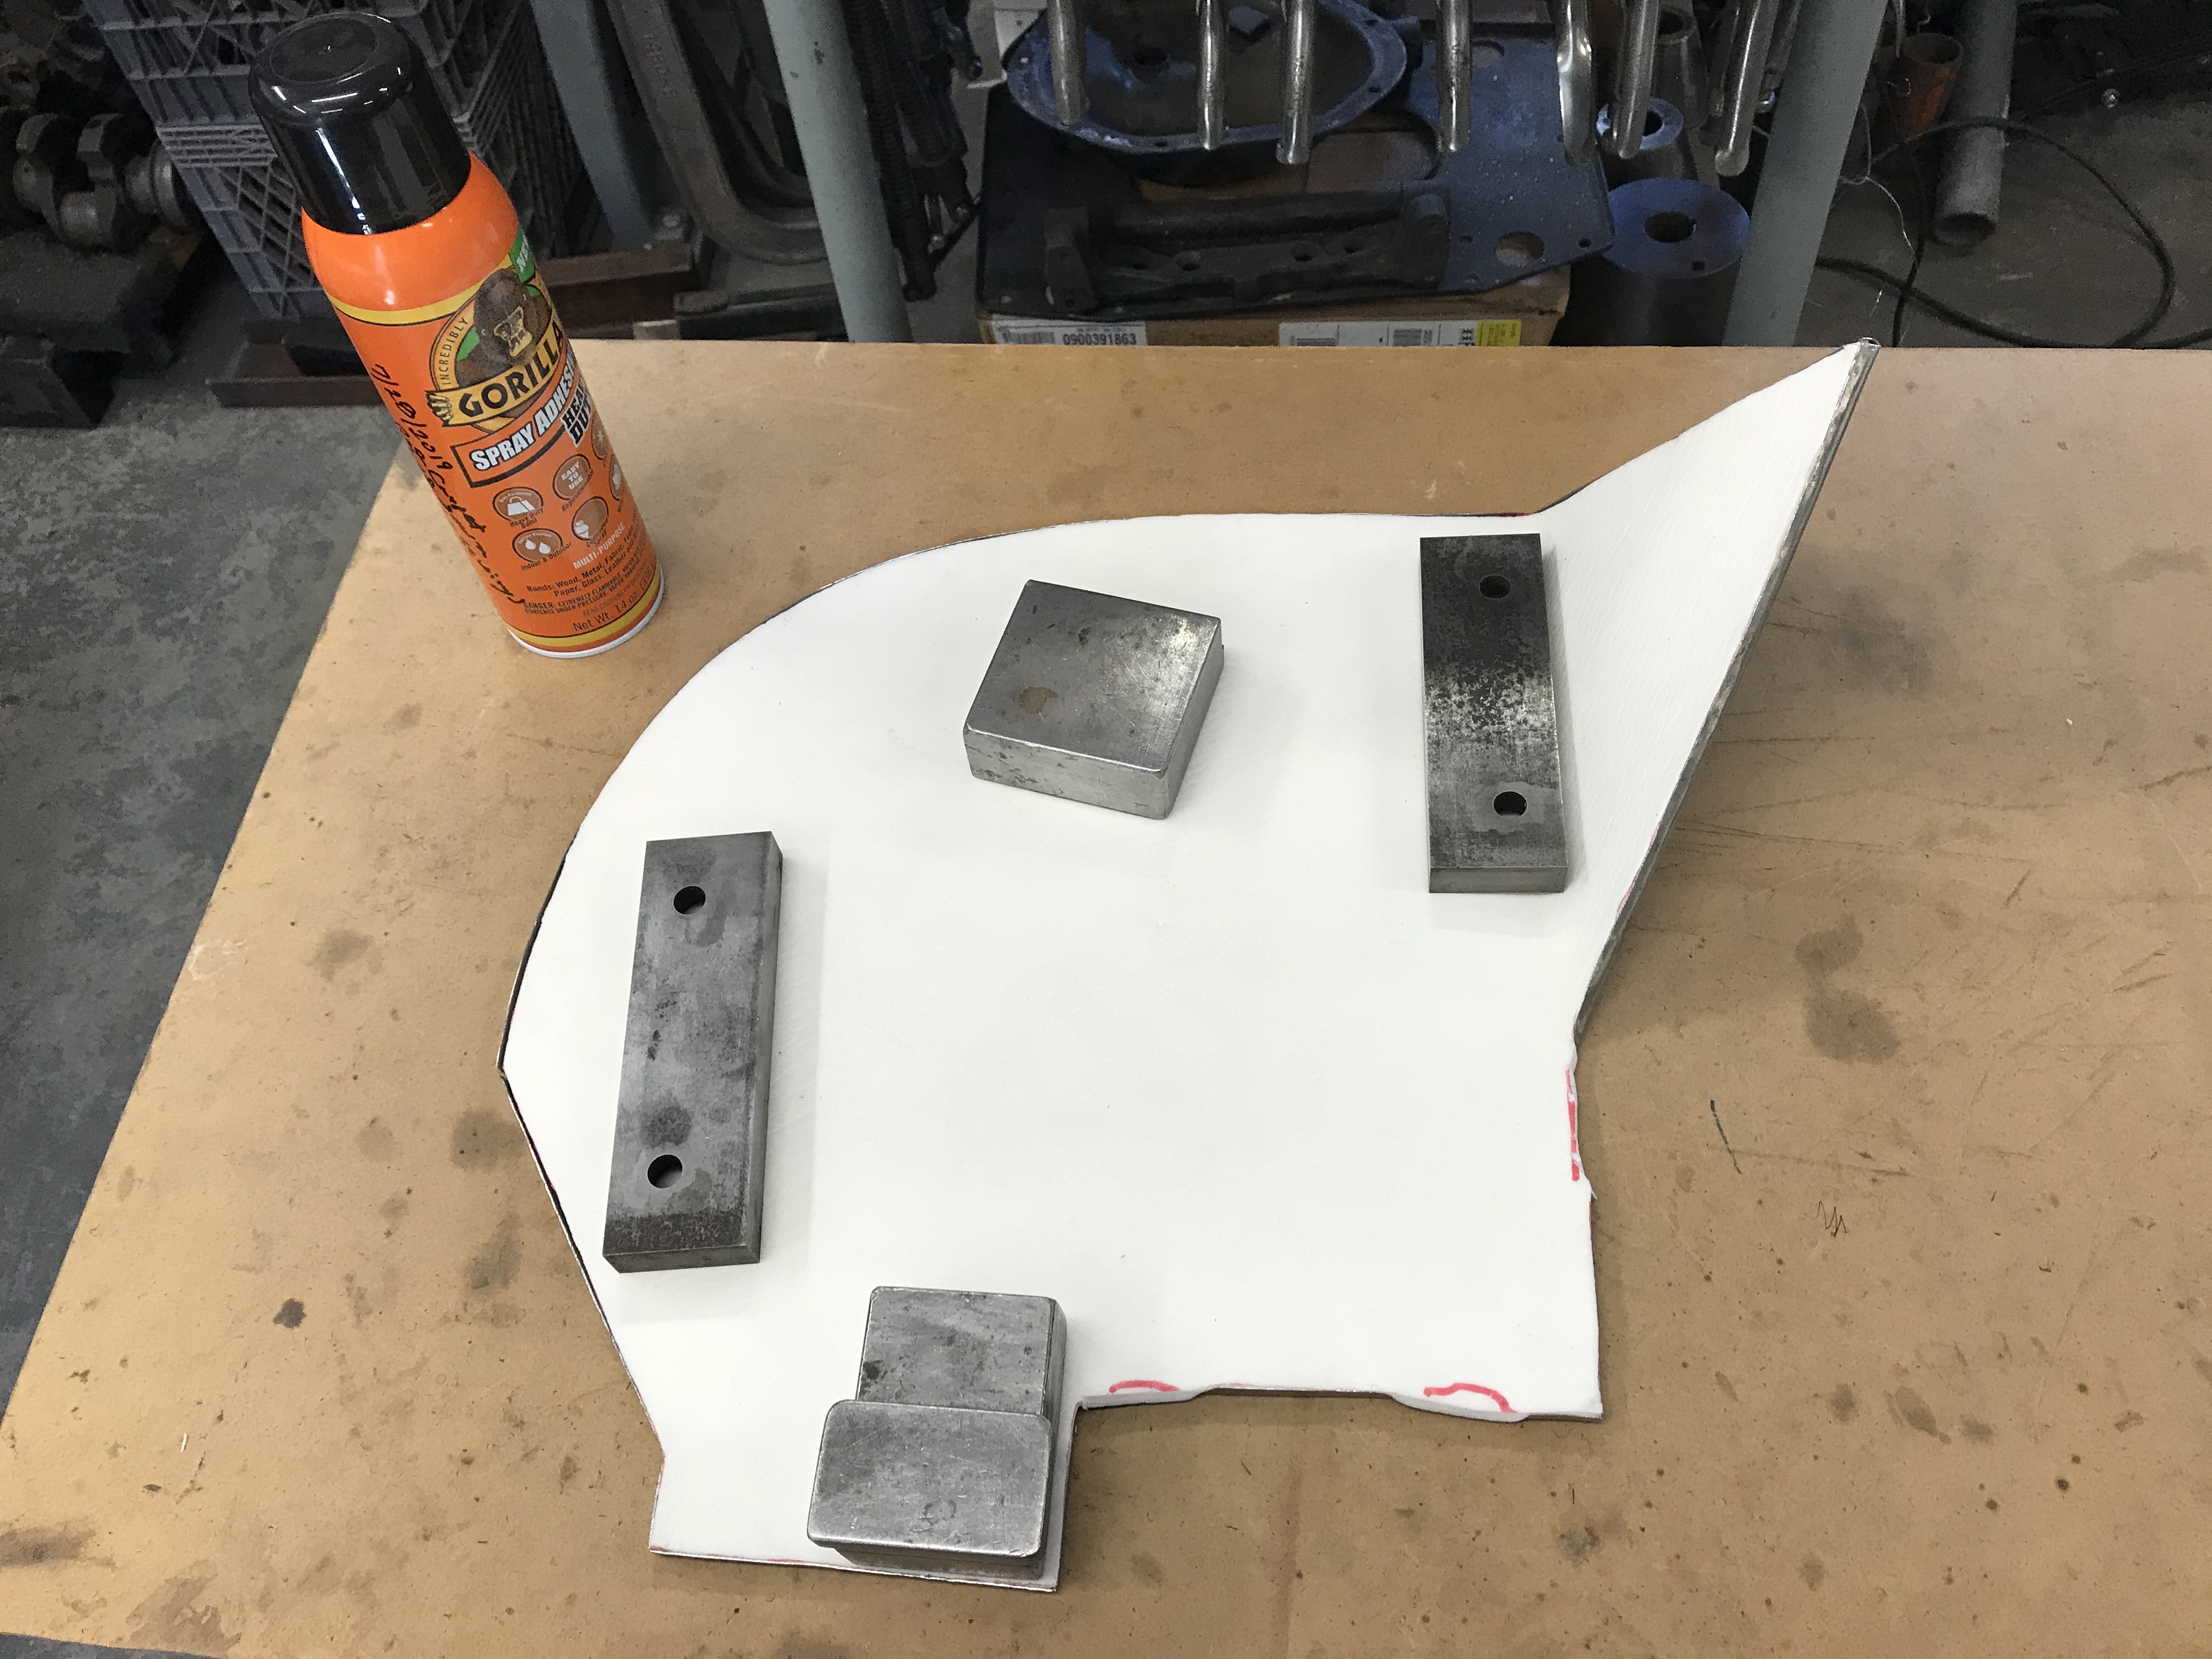
After forming, the actual insulation is glued to the back of the stainless shield. The following photo shows insulating material being applied to the front driver side panel stainless panel.
The photos below show the installation of the stainless steel heat barriers on the driver and passener side footboxes.

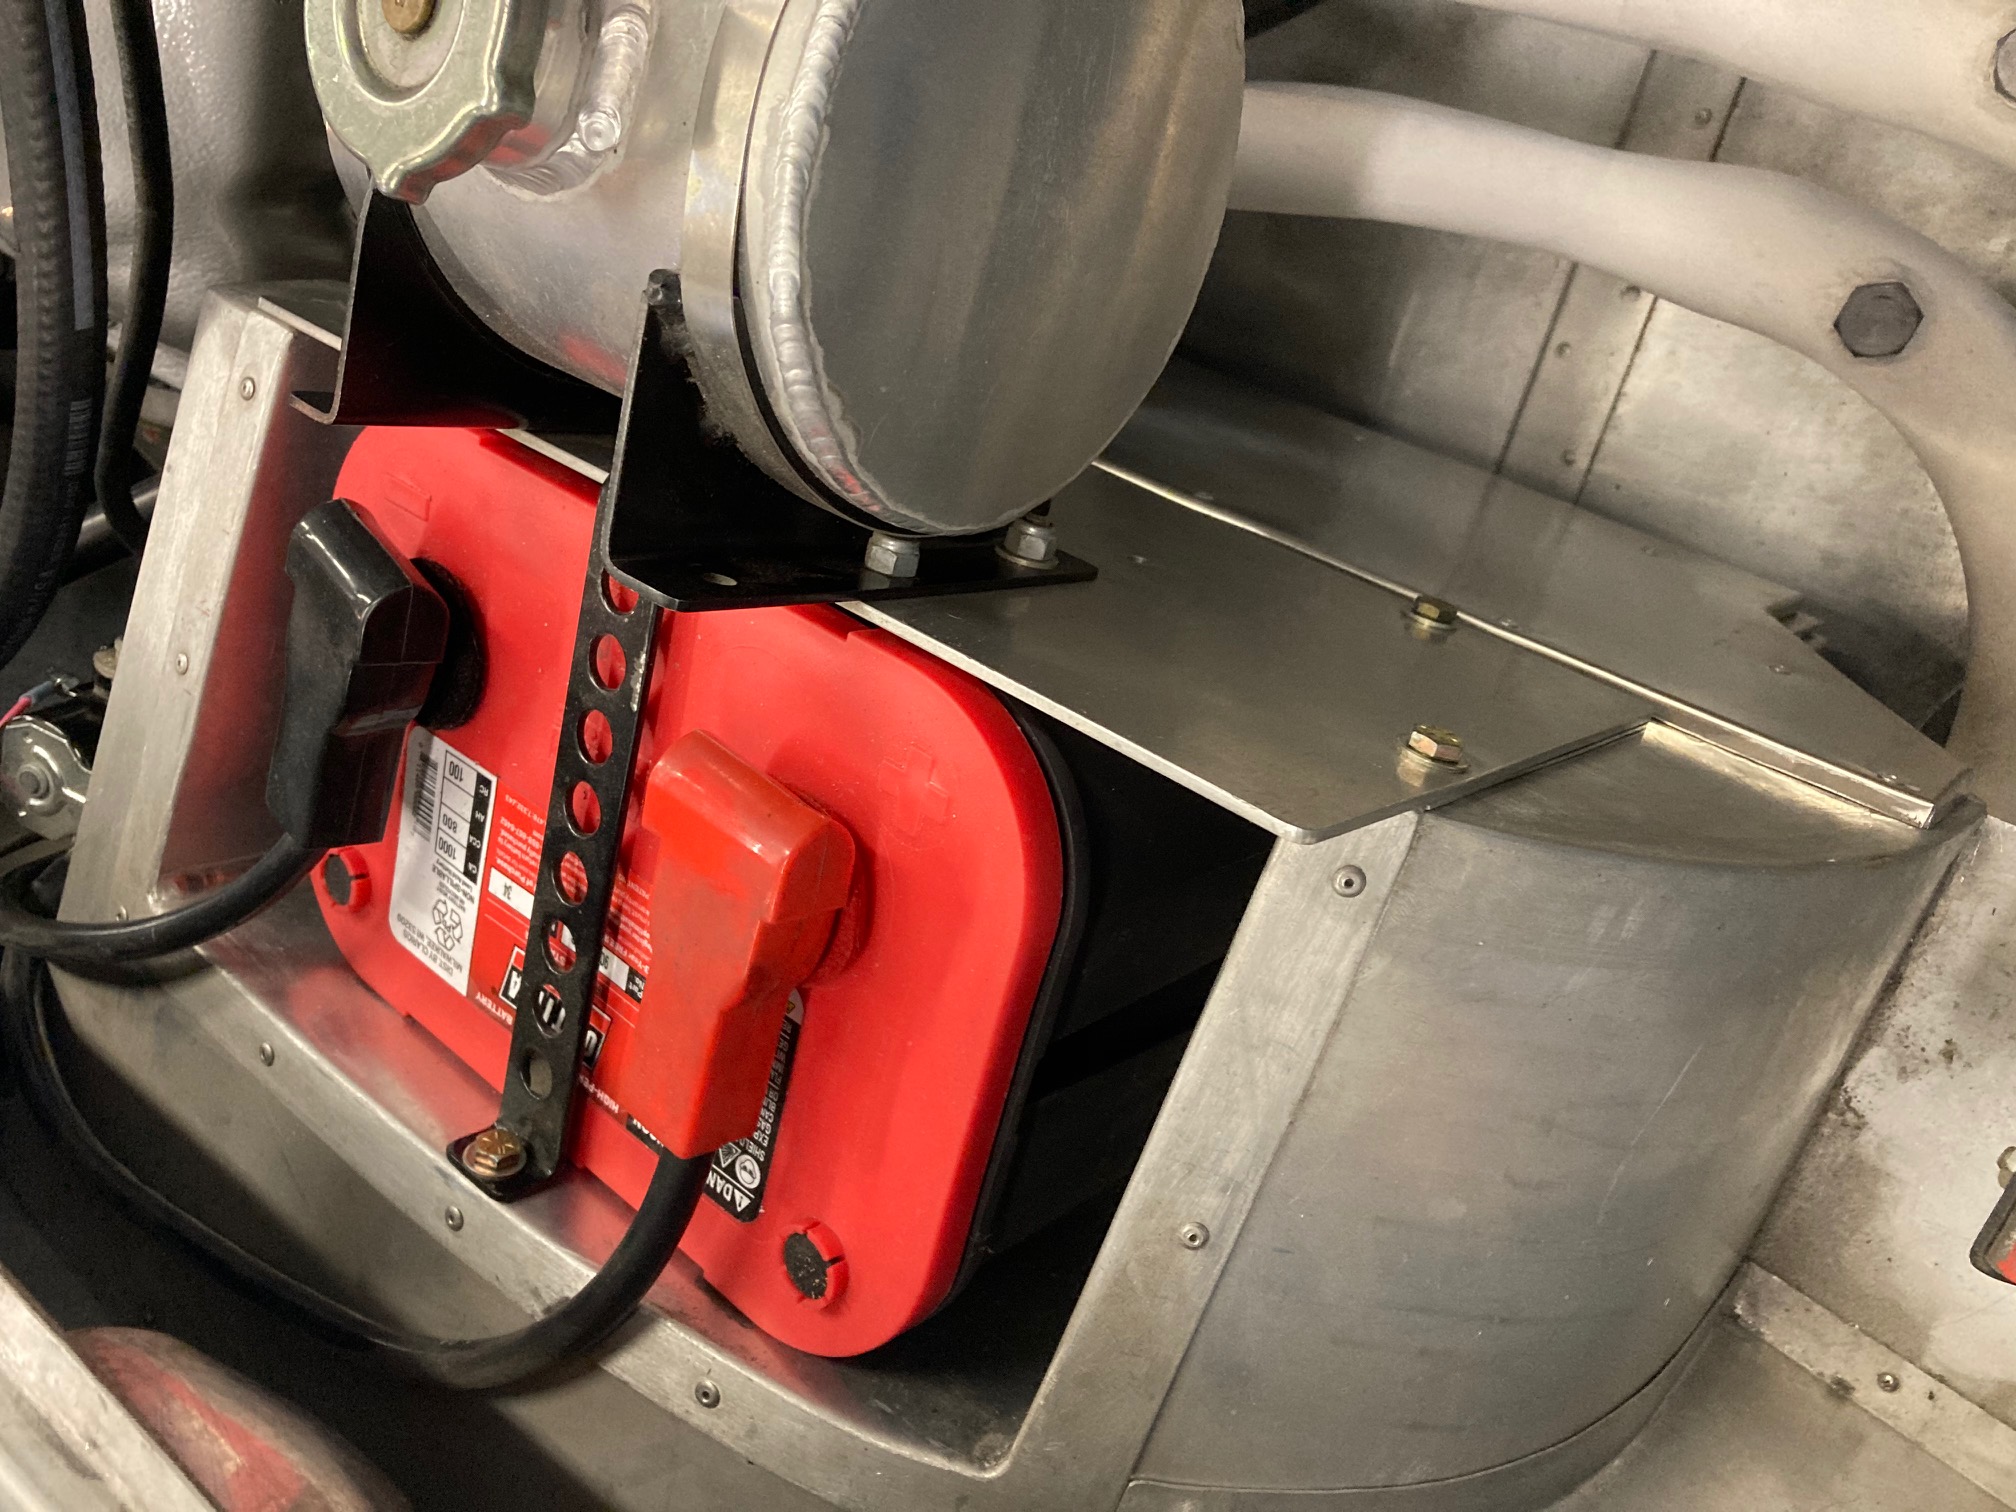
Barely visible in the passenger side footbox photo is the front edge of a similar stainless steel and insulation shield that has been installed on the transission to the muffler recess to minimize the cockpit heat from that source.
Heat insulation was also added to the transmission tunnel. In this case the insulation material had an aluminum covering factory bonded to the insulation and which is designed for undercar installation. The following photo shows this insulation being applied to the undercar side of the transmission tunnel.
![]()